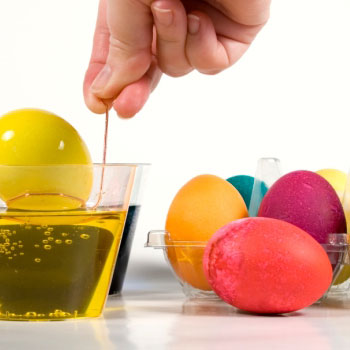
Eggcellent Tips to Dye For

Dyeing Easter eggs isn’t all it’s cracked up to be, especially if you aren’t seasoned to the tricks of the trade. If your expertise doesn’t go beyond purchasing a pack of PAAS, then it’s time to add a bit of color to the process. Even the most novice egg dyer knows that the first step to a successful dye job is hard-boiling the eggs for nine minutes. From there, soak the eggs in cold water. Don’t attempt to treat the eggs until they are cool and dry. Of course, you’ll want to have a coloring kit on hand. There are plenty of different types from which to choose at your local grocery or drugstore. From pastels to neon to tie-dyed, there’s something for just about every taste. If you prefer to go the homemade route, mix one-half to one tablespoon of food dye with two teaspoons of vinegar. Top it off with water. Do one color per cup as a general rule. Anybody who has dyed eggs knows the real fun goes beyond coloring. Get out the crayons and draw a design before dipping the egg in color. The wax will show through the dye and create an eye-catching design. Why not bedazzle your eggs? Use glue to affix sequins, rhinestones, glitter and beads to your eggs. One approach kids are sure to absorb is sponging your eggs. Place acrylic paint into a shallow dish, dip the sponge into the paint and pat the egg with it. For a marbled look, place a tablespoon each of oil, vinegar and food coloring. Add enough water to cover the egg and stir. Drop the egg in and out in a quick manner. Pat dry with a paper towel. Rubber bands are also great for different designs. Wrap your eggs with elastic bands and drop them in the egg dye. Remove eggs and let them dry. Take the rubber bands off, and you’ll see white in the areas where the bands were. If you want different colors in those areas, drop them back in another dye. Remember, when it comes to decorating Easter eggs, the dye is the limit!
